
Last updated November 15, 2026
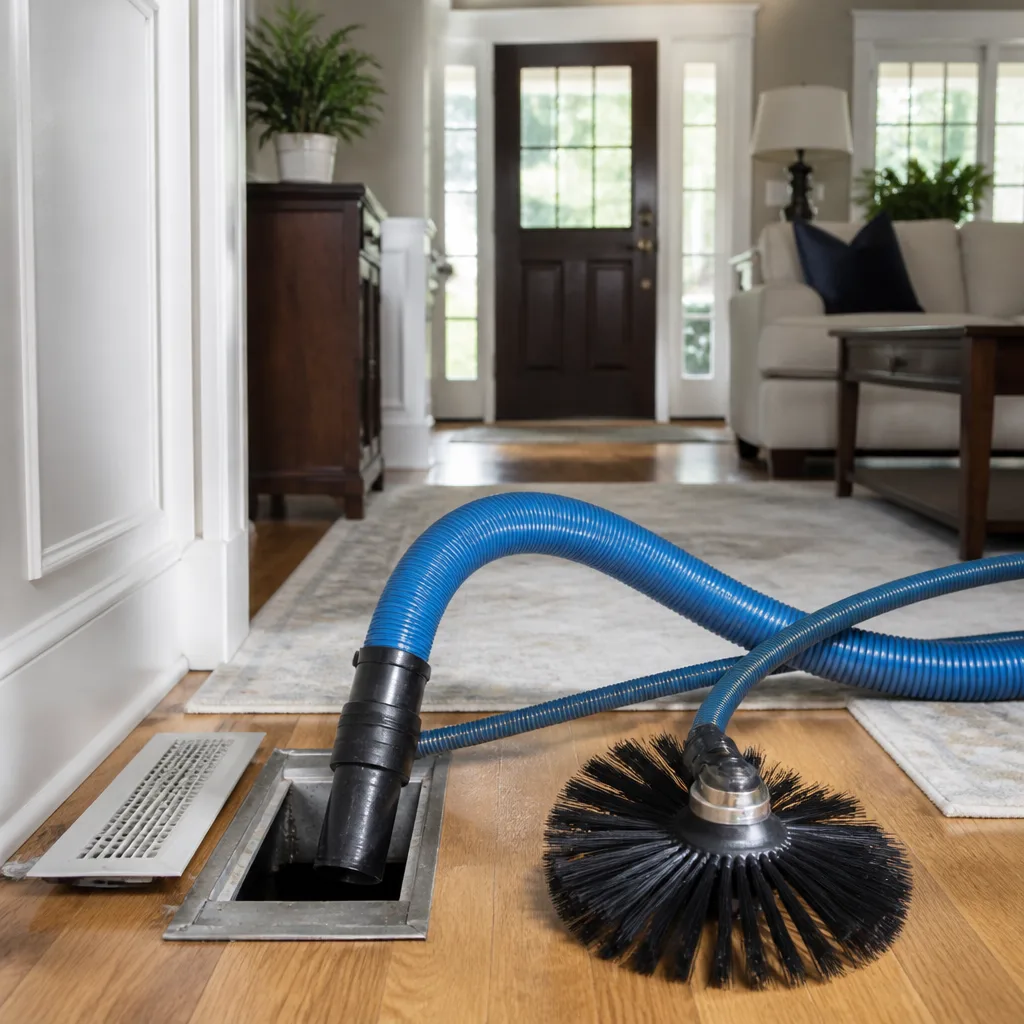 Whole-home duct cleaning
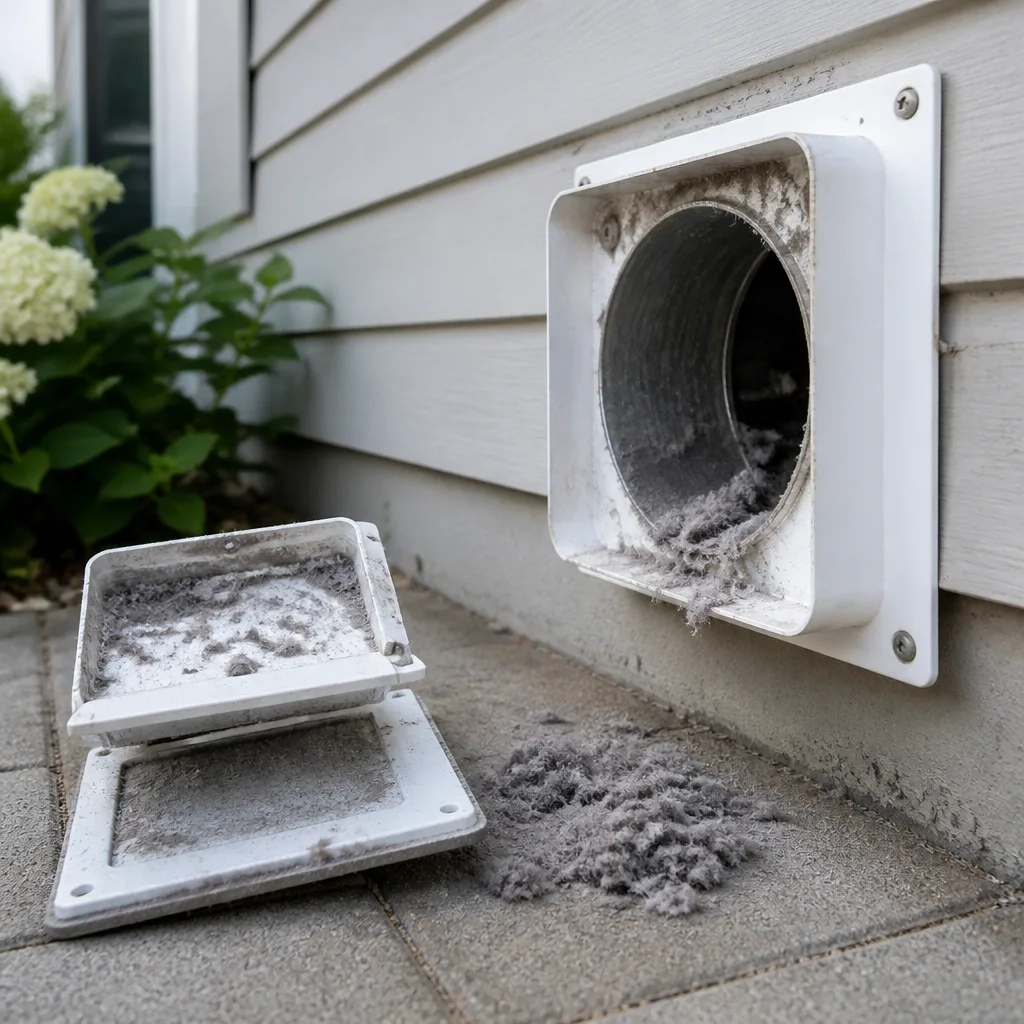 Dryer vent cleaning
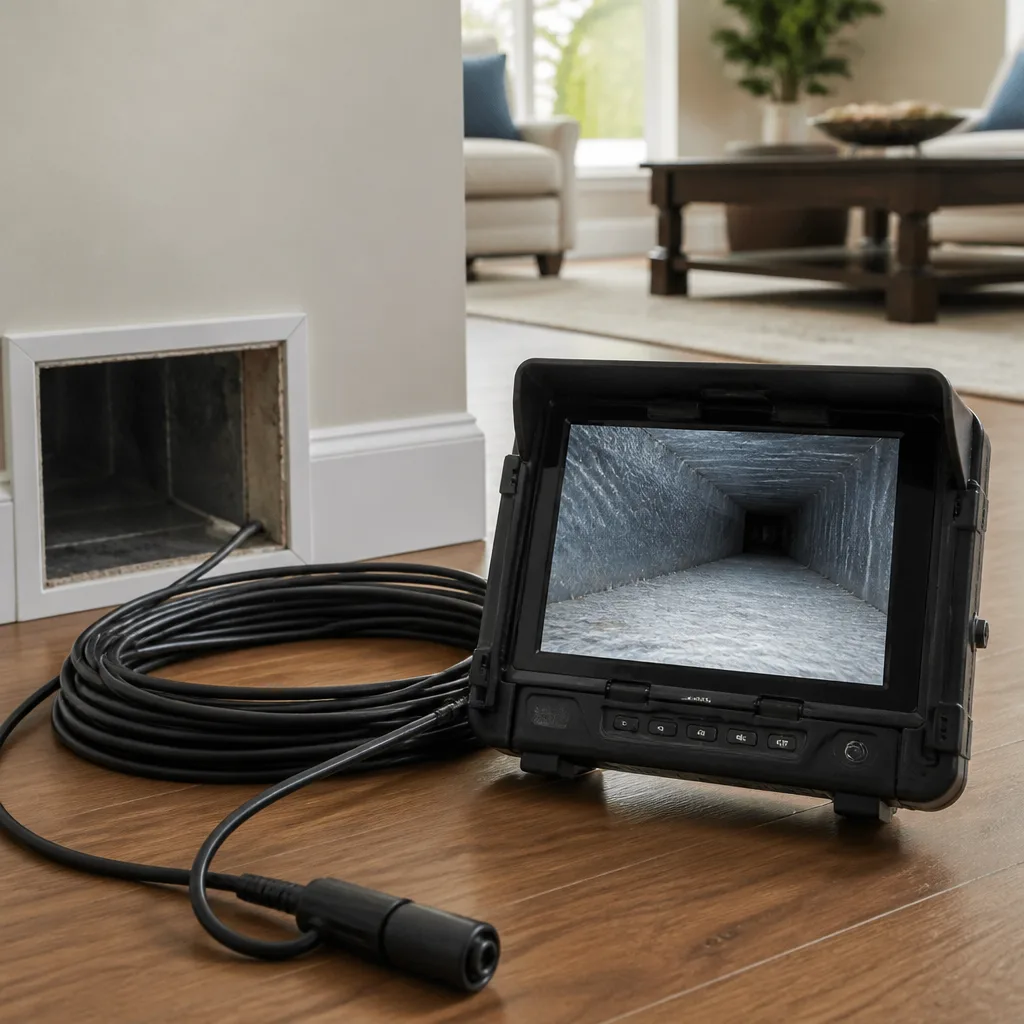 Camera inspection
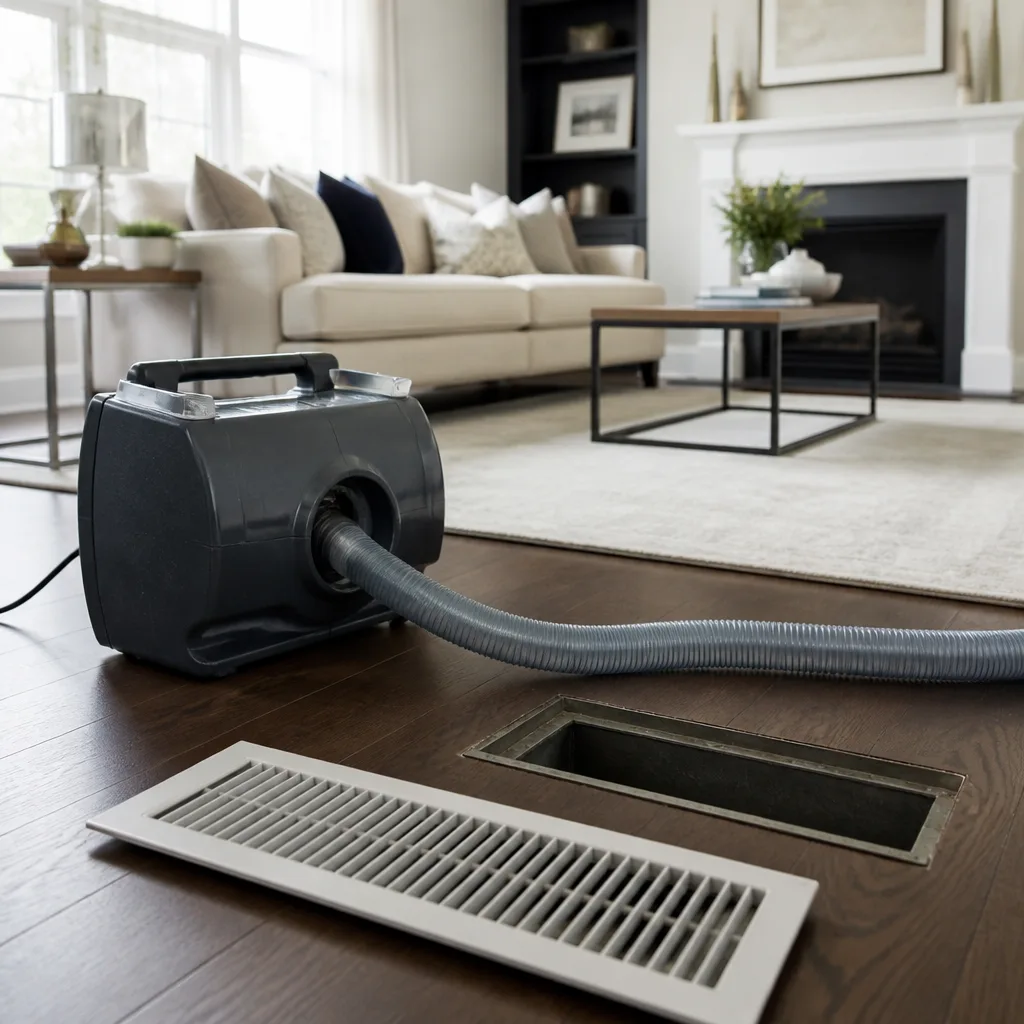 Sanitizing & deodorizing
Whole-system duct and dryer vent check with before-and-after photos - you see exactly what came out of your vents
That "$99 whole-house special" is a bait ad - the real number appears once they are in your hallway, or the "clean" is a shop-vac at the register. We photograph the inside of your ducts before and after instead.
Air Duct Cleaning Maintenance Checklist for Reno Homeowners
Most homeowners treat duct cleaning as a box to tick every few years. The more useful question is different: what in your house or in the high desert around Reno is quietly degrading your duct system right now, between cleanings? A duct run that was clean on the day of service can have a disconnected flex joint pulling attic insulation into the return by the next heating season. A filter frame that never seated properly can route unfiltered air past the media for two winters. This guide is built around catching those conditions early. You’ll learn what to watch at your registers, how Reno’s smoke season changes your filter cadence, what to inspect after any HVAC or attic work, and how to document duct condition so a technician can compare a real baseline to what’s there now.
Quick Answer
A practical air duct maintenance checklist for a Reno home covers four habits: checking filters more often during the June-through-September smoke and dust season than in winter, inspecting accessible duct joints after any HVAC repair or attic work, watching registers for airflow changes and odor triggers, and documenting what you find with dates and photos. Professional inspection makes sense annually for older homes, homes with pets or allergy-sensitive occupants, or any home that has had recent HVAC or attic work, and every two years for a tight, newer house with no red flags.
Styles & brands we work with
- Whole-home duct cleaning
- Dryer vent cleaning
- Camera inspection
- Sanitizing & deodorizing
Table of Contents
- Why Reno Ducts Age Differently
- What to Watch: Homeowner-Observable Indicators
- Filter Inspection Cadence: Smoke Season vs. Winter
- What to Check at Duct Joints After HVAC or Attic Work
- Annual vs. Biannual Professional Inspection Triggers
- How to Document Duct Condition Over Time
- The Dryer Vent Belongs on This Checklist
- What a Proper Cleaning Actually Involves
Why Reno Ducts Age Differently
Reno sits in a high desert valley where the air is dry most of the year, summer brings wildfire smoke drifting down from surrounding ranges, and dust moves through the valley on wind events. Homes here run heating hard in winter and cooling hard in summer, which means the air handler cycles a large volume of air through the same duct system year-round. That combination puts more particulate load on a duct system than many homeowners expect.
Housing stock plays a part too. Older neighborhoods near downtown and Midtown often have duct systems that have been modified more than once, with patchwork connections, added flex runs, and registers that were moved or capped. Newer construction in the south valleys and the northwest tends to have tighter envelopes and better-sealed ducts, but a single improperly seated filter or a flex run that slipped off a collar undoes that advantage quickly.
What we look for on a first visit often has nothing to do with visible dust in the register grille. It’s the return side. Negative pressure in a return can pull attic insulation fibers and construction debris through any gap in the duct envelope, and that material ends up coating the inside of the system and the evaporator coil. Once you’ve seen a return plenum packed with fiberglass, you don’t judge a duct system by the grille anymore. You judge it on the joints, the connections, and the filter fit. That’s the lens this checklist uses for a Reno home.
What to Watch: Homeowner-Observable Indicators
You don’t need a moisture meter or a flow hood to notice that something inside the duct system has changed. You need to pay attention to a handful of signals. Any single one is worth noting. Two or more together are worth a professional inspection.
Airflow asymmetry. Rooms that used to heat or cool as well as the others and no longer do often indicate a disconnected duct run, a collapsed flex section, or debris blocking a branch. Set your thermostat to fan only and hold a tissue or your hand near each register. If one or two registers push noticeably less air than the rest, write down which ones and which direction they face.
Odor triggers. A musty smell when the air handler first kicks on often points to moisture or organic growth somewhere in the system. A dusty, sharp smell that shows up only when the heat runs can point to dust burning off the heat exchanger. Chemical or exhaust smells are a different category entirely and deserve a call to a technician, not a checklist.
Visible debris at registers. Pop a few supply registers off and look at the boot and the first stretch of duct. Light dust film is normal. Black staining, fuzzy growth, or visible fiberglass fibers are not, and they suggest contamination upstream.
Increased dust on horizontal surfaces right after the system runs, or a filter that loads up faster than it used to. Both point to something bypassing the filter or a leak on the return side.
New pet, new occupants, or new construction nearby. Occupancy and outdoor conditions both shift the load on your system. Note them in your log so a technician can interpret your readings later.
Filter Inspection Cadence: Smoke Season vs. Winter
Filter cadence in Reno is not a year-round rule. It’s two rules. During the June-through-September wildfire and dust season, inspect the filter monthly and expect to replace it more often than in cooler months. From roughly October through May, inspect monthly to start and extend the interval only if the filter stays visibly clean. The filter is your first line of defense against everything the return pulls in.
Step-by-step filter check
- Turn the system off at the thermostat before you touch the filter.
- Slide the filter out and hold it up to a light source. If you can’t see light through it, replace it.
- Check the filter frame and the slot it sits in for gaps. Filter bypass is one of the most common problems we find, and a filter that doesn’t seal is doing less than its rating suggests.
- Note the MERV rating and the size on your log so replacements match.
- Date the filter with a marker when you install it. The date on the frame tells you more than memory does.
If you run a whole-home filtration or humidity system, your cadence may be different. Homes with Honeywell or Aprilaire equipment need the media cabinet and any humidifier pad checked alongside the main filter, because a saturated pad or a clogged media cabinet changes how the whole system breathes. We work with both brands often enough to know the filter housing matters as much as the filter, and a proper inspection includes both.
What to Check at Duct Joints After HVAC or Attic Work
Every service visit to an air handler, every attic insulation job, and every remodel that touches a ceiling creates an opportunity for a duct connection to come loose. Rigid metal duct taped years ago can lose its seal when someone bumps it. A flex run will sometimes slide partway off its collar when a technician moves it to reach the coil. You don’t need to crawl the attic to catch this. You need to check the things you can reach, soon after the work is done.
- At the air handler and plenum: look for gaps where the duct meets the cabinet, tape that has peeled, or mastic that has cracked.
- Attic-mounted ducts, if you have safe access: check that every flex run you can see is still seated on its collar and secured. A flex run that has slid off is depositing debris into the plenum on every cycle.
- Ceiling registers and boots: the boot-to-drywall gap is a favorite leak point. Insulation fibers slip through that gap easily.
- Basement or crawlspace joints, if applicable: look for condensation on the outside of ducts during cooling season, which often signals a disconnected run nearby.
Anything you find, write down and photograph. We repair what we find, and a photo plus a note about when the HVAC work was done gives a technician a specific starting point. If the joint just needs re-sealing, that’s a quick fix in the same visit as a cleaning. If the connection has been open for months, the return side may need more than a reseal, and that’s worth knowing.
Annual vs. Biannual Professional Inspection Triggers
There’s no universal “every house, every year” rule for duct inspection, and any company that says otherwise is selling a schedule rather than a service. The right interval depends on the home and the occupants. Use these triggers to decide whether your next inspection should be annual or on a two-year cycle.
Schedule a professional inspection annually if any of these apply
- The home is more than twenty-five years old and the duct system has been modified over time.
- Someone in the household has allergies, asthma, or another respiratory sensitivity.
- You have long-haired pets or more than one shedding animal.
- The home has had HVAC service, attic insulation work, or a remodel within the past year.
- You smoke indoors or run a wood-burning stove or fireplace.
- The property is a rental with a high rate of tenant turnover, or a property you manage.
A two-year cycle makes sense when
- The home is newer construction and the ducts have been sealed and inspected since it was built.
- No one in the household has respiratory sensitivity and there are no indoor pets.
- Filters are changed on schedule and you’re not seeing dust or odor issues.
- You’ve documented a clean baseline within the last two years and nothing has changed inside the system.
The June-through-September smoke season in Reno is worth building into the decision. Homes that run recirculated air with windows shut for long stretches during smoke events see much higher filter loads, and often the return side bears the worst of it. If you’re on the fence about annual versus every other year, an inspection in early summer, before smoke season, tells you more than one in late fall.
How to Document Duct Condition Over Time
Documentation is what turns a checklist into a maintenance record. A contractor arriving at your home can inspect the ducts they find. A contractor arriving with your notes can compare today to what was there two years ago and tell you whether the system is stable or degrading. That’s a different, and much more useful, conversation.
What to record
- Dates. Every filter change, every inspection, every HVAC service, every attic or remodel project. A calendar on your phone works; a note on the furnace door works too.
- Photos. Shoot every register grille, the filter slot, the air handler area, and any accessible attic or basement duct connections. Include the filter itself before you discard it.
- Observations. Airflow at each register, any odors and when they show up, dust patterns, filter loading speed. Two sentences per entry is plenty.
- Service records. Keep the written estimate and any photos from the last professional cleaning alongside your log. Before-and-after photos of your ducts should be part of every cleaning, and they’re the reason you can compare later.
- Brand notes. If you have a Honeywell or Aprilaire whole-home system, note model numbers and pad or media replacements. Any technician working on the ducts needs to know how they connect to filtration and humidity control, not just where the duct runs go.
You can keep this on paper. The record matters more than the format. A one-page document with dates and photos will do more for your ducts over five years than any app, and it costs almost nothing to maintain.
The Dryer Vent Belongs on This Checklist
A duct maintenance checklist that stops at the HVAC system is only doing half the job. The dryer vent is a duct, and it carries a different risk profile than a supply or return run. Lint buildup restricts airflow, airflow restriction makes the dryer run hotter, and that combination is the leading cause of dryer fires. That’s not marketing language; it’s why we treat dryer vent cleaning as a safety service rather than an add-on to a duct cleaning visit.
Here’s the homeowner check: pull the dryer out a few inches and look behind it. If the vent hose behind the dryer is crushed, kinked, or a foil accordion type that’s sagging, airflow is already compromised. If lint has accumulated around the back of the dryer or on the wall where the vent exits, that’s a signal worth acting on. Disconnect nothing yourself; just note what you see and have the vent line checked.
Full vent-line clearance from the dryer connection all the way to the exterior termination is what a proper dryer vent service involves. If the exterior flapper is stuck or the termination has a screen that’s clogged with lint, cleaning the run alone doesn’t fix the problem. We check the whole line, including how the exterior termination is behaving, because that’s where a lot of residential vent issues actually live.
What a Proper Cleaning Actually Involves
Every homeowner we’ve worked with has heard “we use a big vacuum” as the whole sales pitch. It’s worth understanding what a documented process actually looks like so you can evaluate any quote you receive, ours or otherwise. The process below is standard on our duct cleaning Reno visits, and it’s why we can tell you in advance what the visit will involve.
The three-system method
- Mechanical agitation with an air duct cleaning brush system. Rotobrush uses a rotating brush head to dislodge dust, debris, and attached contaminants from the duct walls. Air whips and negative pressure alone don’t break debris loose from surfaces; brushing does. The two together are the difference between surface dust removal and clean ductwork.
- HEPA-rated extraction. Nikro vacuum systems capture what the brush dislodges, filtered down to 0.3 microns. That rating matters because the smallest particles are the ones most likely to be re-entrained into the airstream and the ones most worth keeping out of the home.
- Negative-air containment. Abatement Technologies negative-air equipment is the same class of tool used in commercial mold and asbestos abatement. It keeps the work zone depressurized so contaminants don’t migrate into living space during the job. Not every residential contractor uses containment. The ones who don’t are the reason duct cleaning has a reputation problem.
After cleaning, we can apply a Guardsman-grade protective treatment that adds a defensive layer to the duct interior. That’s a separate step you should be told about before work starts, never sold mid-visit. And if we find damage during cleaning, we have an Air Duct Repair scope on the same visit, so you’re not left holding a report and a list of other contractors to call.
Common Mistakes to Avoid
- Skipping the filter frame check. A filter that fits loosely is doing less work than its rating says. In Reno’s smoke season, that gap matters more than the MERV rating on the box.
- Ignoring register airflow asymmetry for one full heating season. A weak register that’s been weak since fall is probably a disconnected or collapsed run. Waiting until next summer to look means another season of the air handler pulling from the wrong place.
- Never inspecting ducts after attic or HVAC work. The week after a technician has been in your attic is the best time to look at duct connections. Not next spring.
- Buying on coupon price alone. A very low advertised price almost always means a shop-vac-only visit with no mechanical agitation and no HEPA extraction. The clean you actually want costs more than the coupon; the visit behind the coupon isn’t the same visit.
- Treating dryer vent cleaning as optional. Dryer lint buildup is a fire risk, and it accumulates whether or not you’ve thought about it. If the dryer runs longer than it used to, that’s already a signal.
- Stopping at a cleaning when the ducts are damaged. Cleaning around a disconnected flex run or a leaking plenum doesn’t fix the problem. Fixing what’s found is the difference between a maintenance visit and a remediation visit six months later.
- Never writing anything down. A homeowner with no baseline has no way to tell a technician what’s changed. Your notes are half the diagnosis.
See the difference
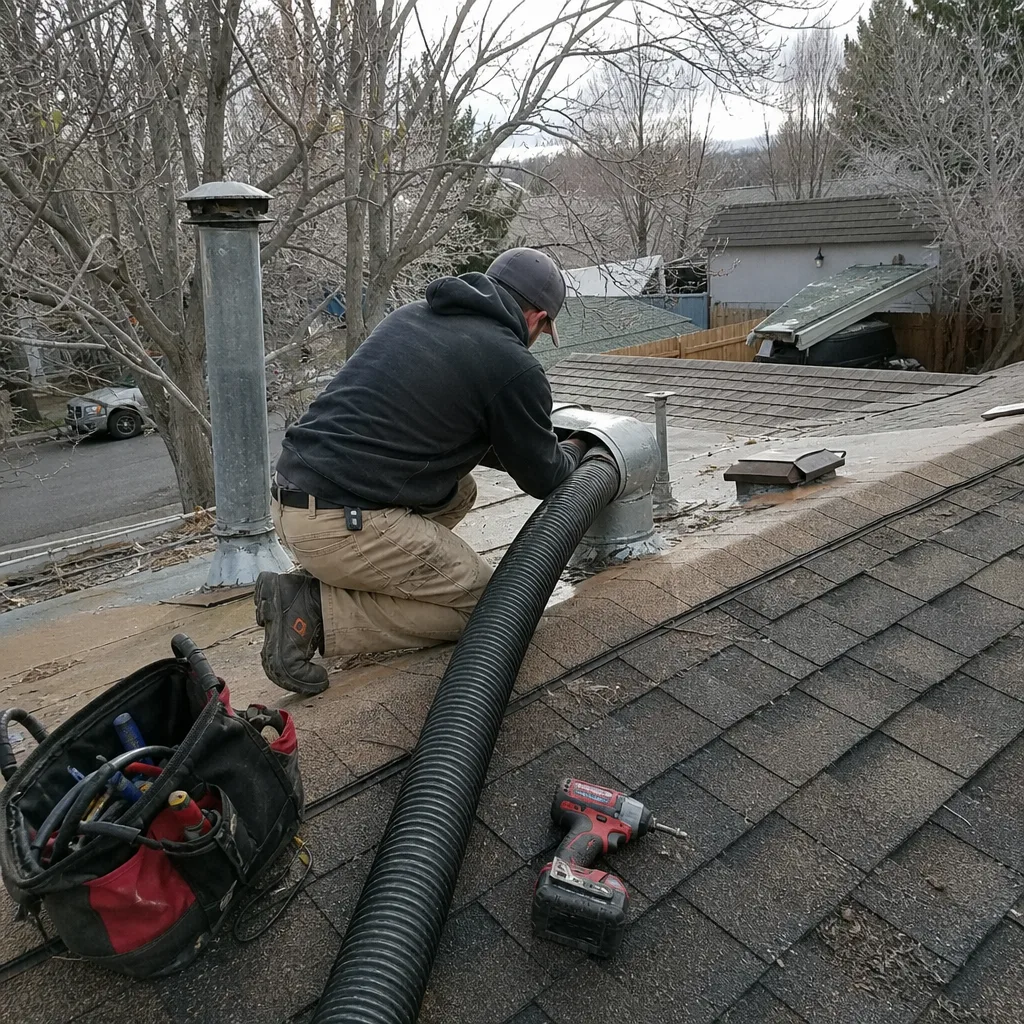 Before
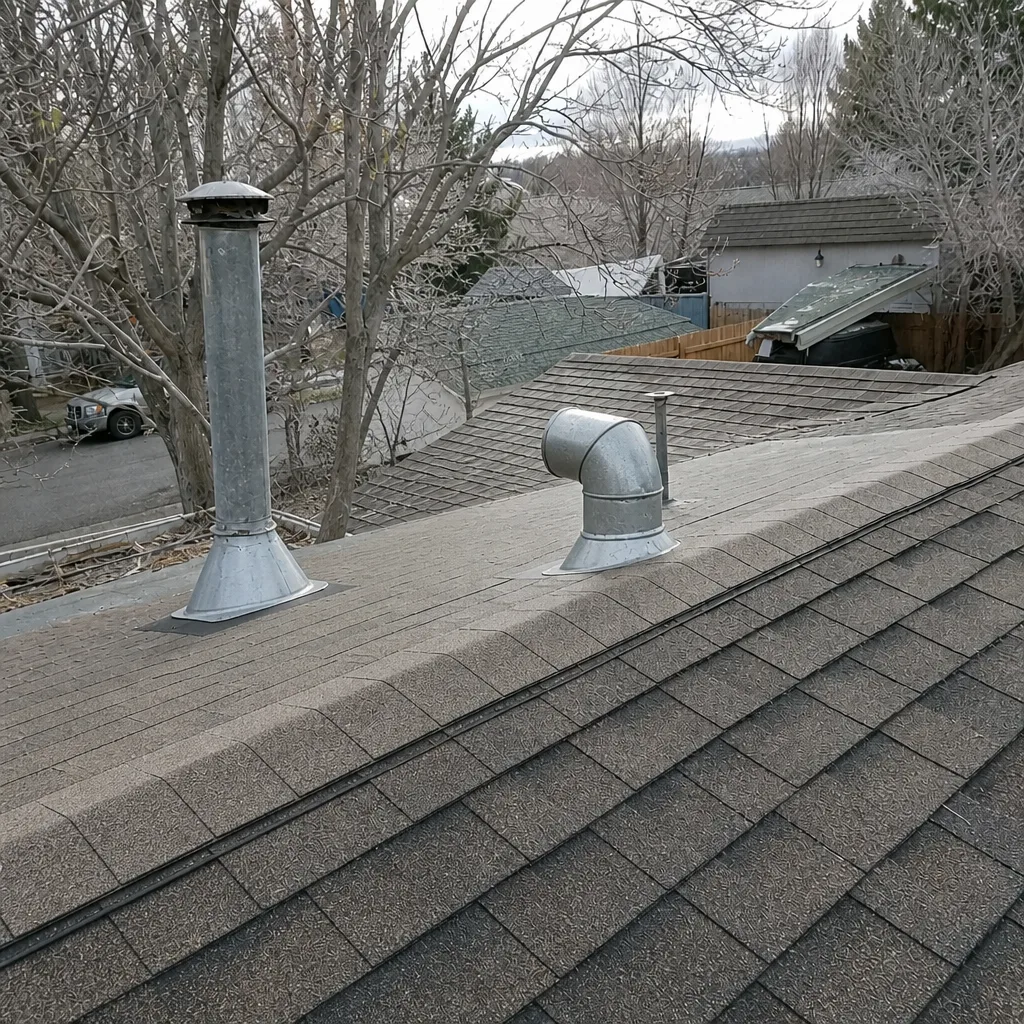 After
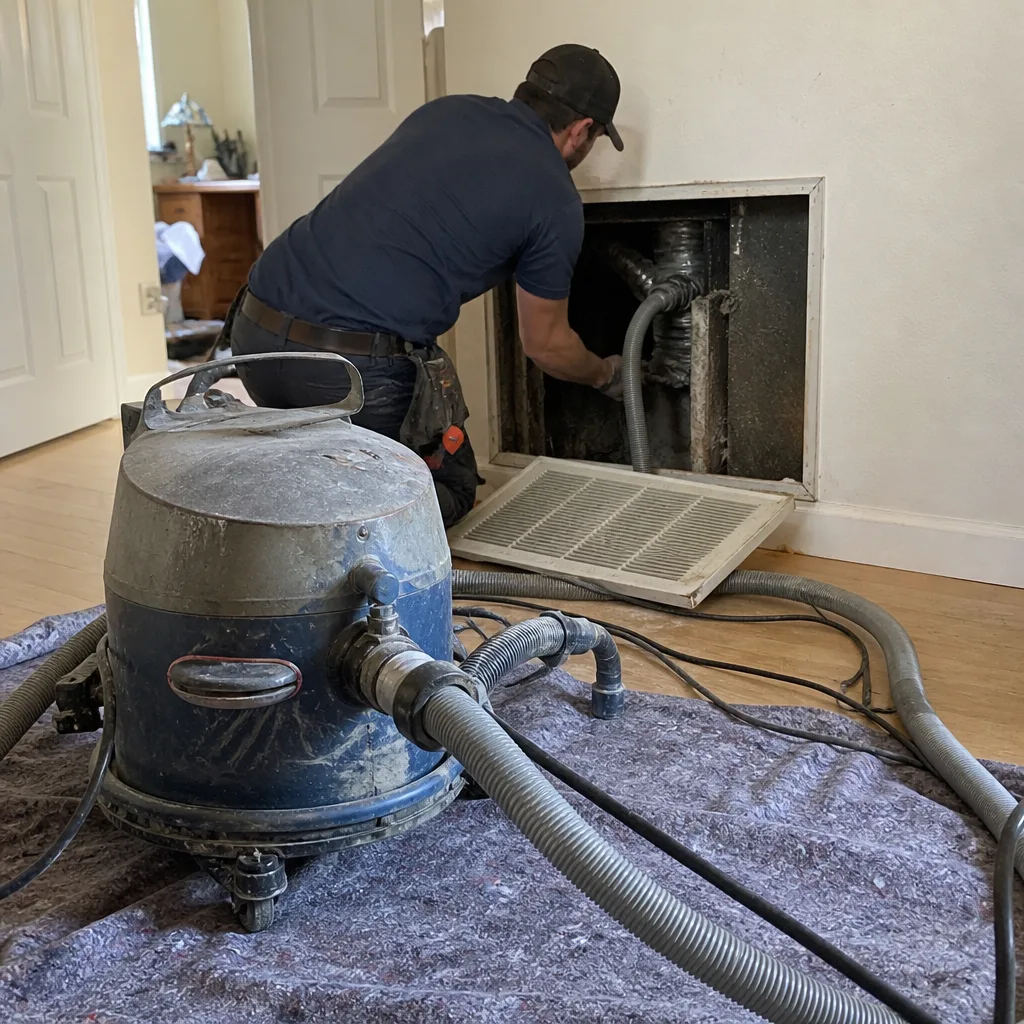 Before
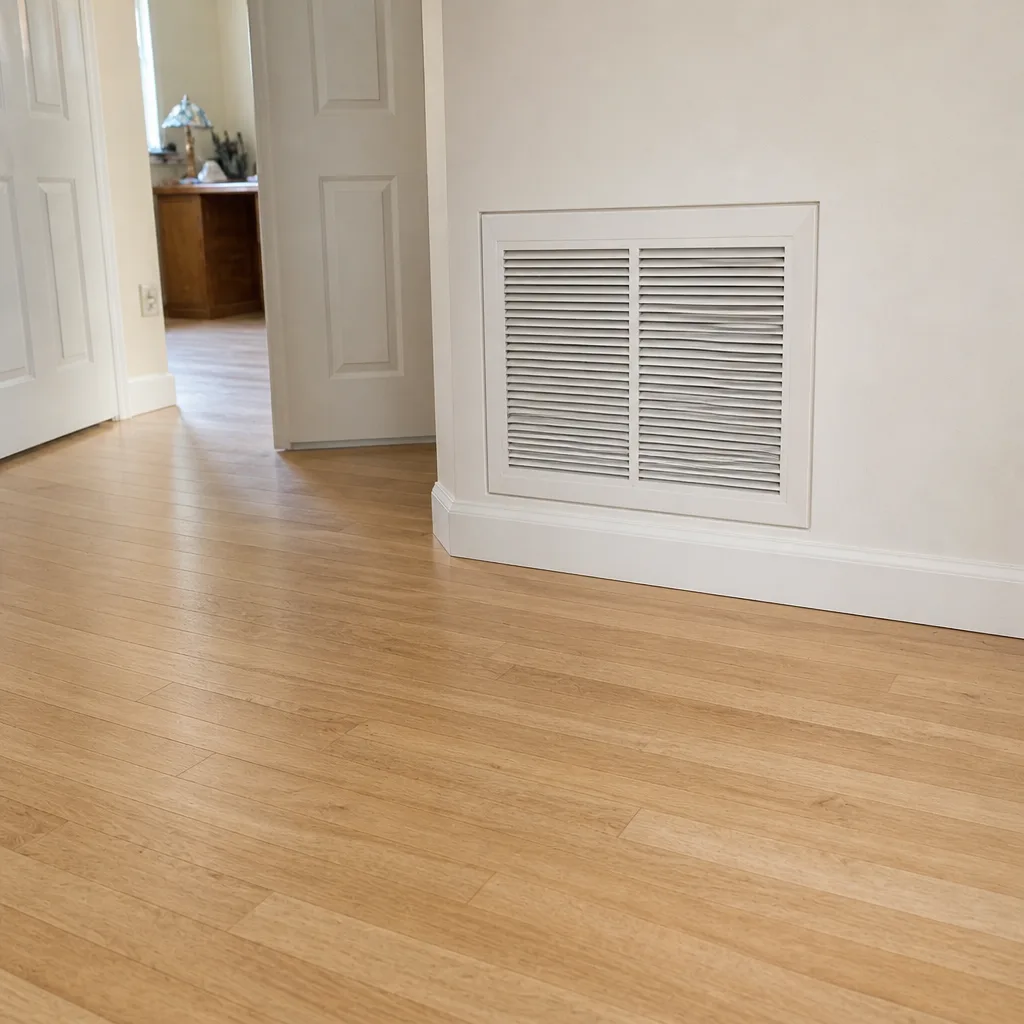 After
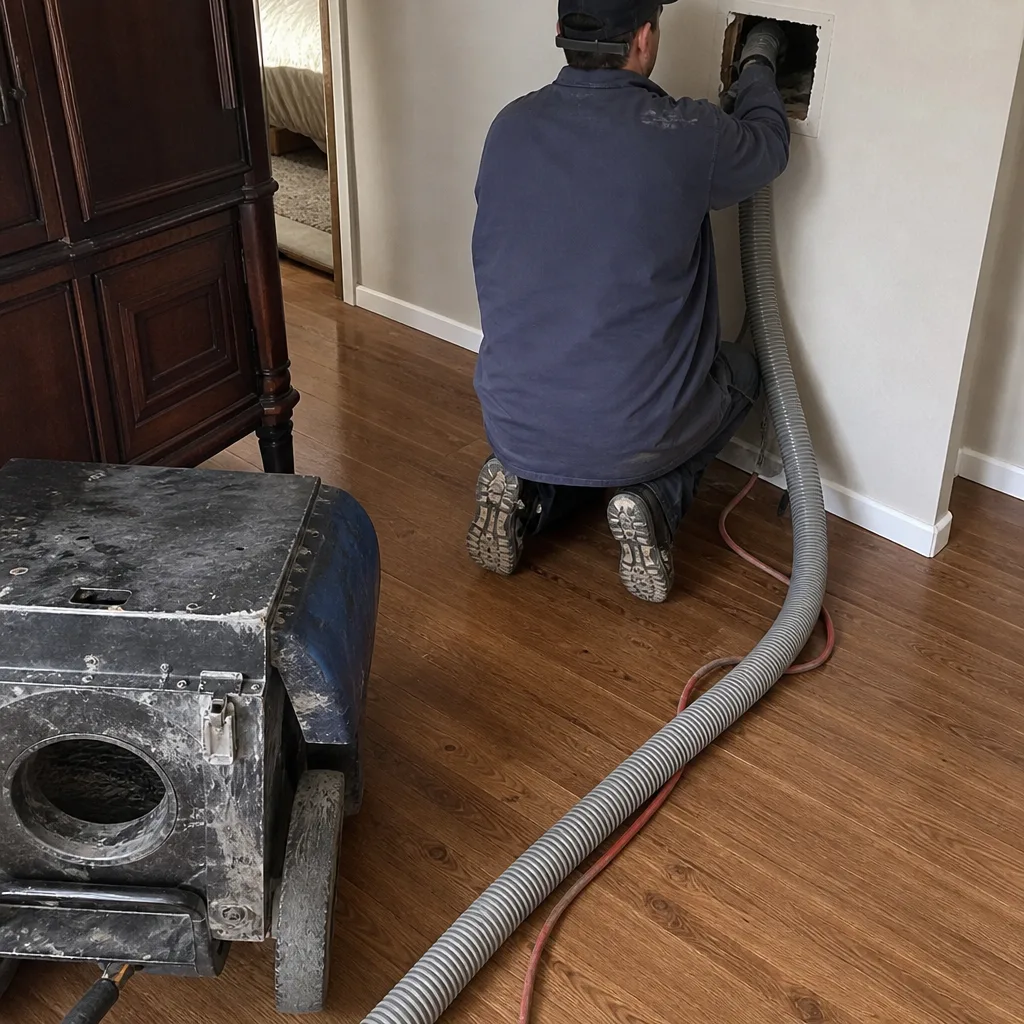 Before
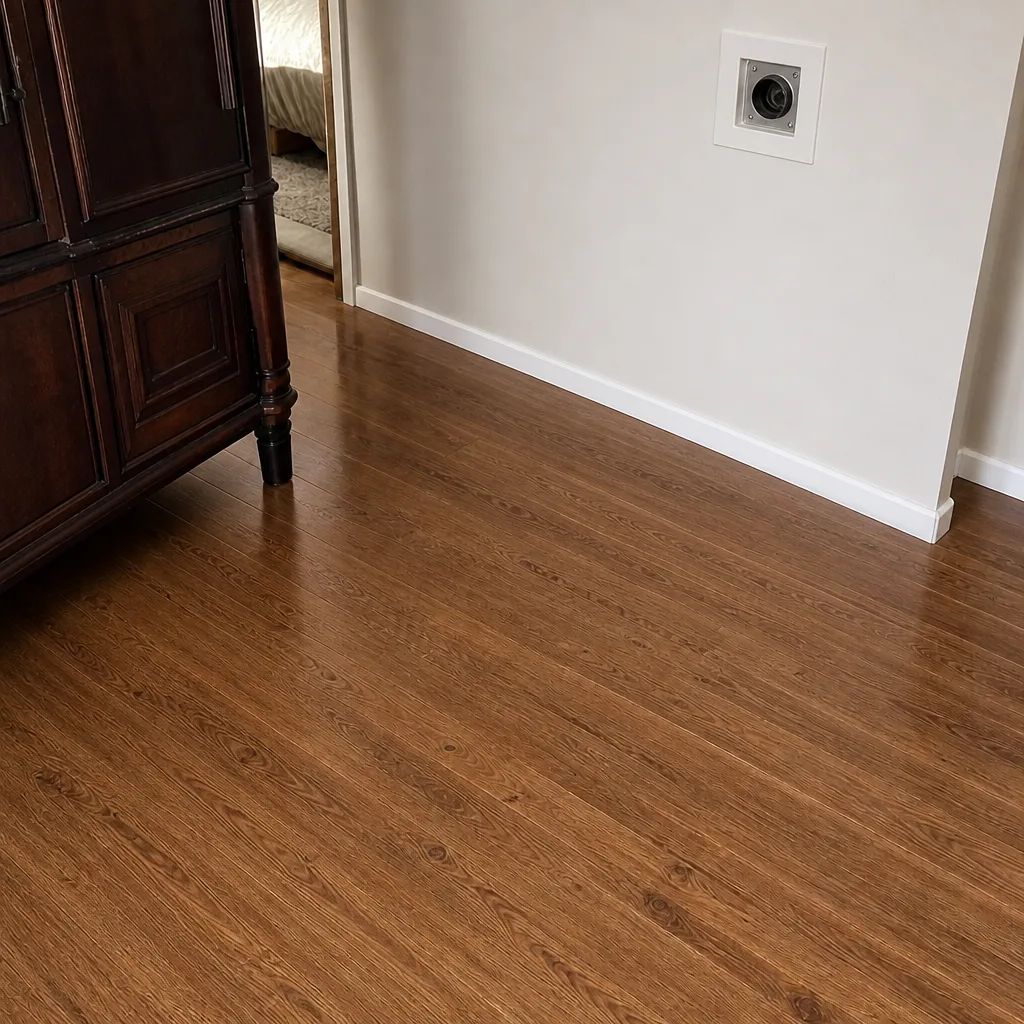 After
When to Call a Professional
Call a professional when the signals in this checklist overlap or when you’re unsure whether what you’re seeing is normal. Specific cases that deserve a call: two or more registers with noticeably low airflow, a musty or dusty smell that shows up every time the air handler starts, visible fiberglass or dark staining inside a supply boot, dust on surfaces building up quickly after a filter change, a dryer that takes longer than it used to get a load dry, or any home that has had attic insulation work, HVAC service, or a remodel in the past year.
You should also call if it’s simply been a long time and you’ve never had the ducts inspected. A baseline inspection gives you something real to compare against, which makes every future decision about the system easier. Duct Cleaning Reno offers free estimates in Reno, with one flat price per system agreed in writing before work starts. Call (866) 361-7643. We answer 24/7. Fast dispatch from 7am to 7pm, Sunday through Friday.
Frequently Asked Questions
Most Reno homes do well with a professional cleaning every three to five years, with more frequent inspection. The clean interval depends on how much particulate the system is handling: homes with pets, allergy-sensitive occupants, indoor smoking, or recent remodel work need cleaning closer to the three-year end, while a tight newer home with no red flags can go longer. Because Reno’s smoke season adds load during June through September, an annual inspection is the more useful cadence even when cleaning every few years. Call (866) 361-7643 for an exact quote, since estimates are free.
Air duct cleaning in Reno typically runs a few hundred dollars for a standard residential system, priced per system rather than per vent, and the exact range depends on the number of trunks and branches, accessibility, and whether repair work is needed. Any quote should be one flat price per system agreed before work starts. If a company quotes per vent or advertises a very low teaser price, ask what that price actually covers and whether it includes mechanical agitation and HEPA extraction. Call (866) 361-7643 for an exact quote on your home.
Cheaper quotes usually skip at least one of the three steps a proper cleaning requires: mechanical brush agitation, HEPA-rated extraction, and negative-air containment. A shop vac and a hose with no agitation dislodges loose surface dust and leaves everything adhered to duct walls in place, and no HEPA extraction or containment means the debris you paid to remove ends up distributed through the house. Ask any contractor which equipment they use for each step before you book. Call (866) 361-7643 to compare ours.
Ask for before-and-after photos of your own ducts, not stock images. A technician who brushes, extracts with HEPA, and uses containment can photograph each register and the air handler area before and after the visit. We also show you what we found in the return and any joints we inspected. If a contractor can’t show you the inside of your ducts before and after, you can’t verify the work. Call (866) 361-7643 to schedule and see the full process.
Yes, if it’s been more than a couple of years or if the dryer runs longer than it used to. Dryer vent cleaning is a fire-safety service independent of the HVAC ducts, and it’s worth treating separately so neither gets skipped. A full vent-line clearance from the dryer connection to the exterior termination is the standard; partial cleaning of just the visible run leaves the lint that actually matters in place. Call (866) 361-7643 to add dryer vent cleaning to your visit.
It does, because smoke raises the particulate load on your filter and return side during the months when windows are shut and the system runs recirculated air. That’s why filter inspection cadence should be monthly in June through September and can stretch in winter. If the filter is loading faster than it used to, or if you’re seeing more dust on horizontal surfaces when the system runs, those are signals the system is working harder than it should. Call (866) 361-7643 to book an inspection before the next smoke season.
The Bottom Line
Duct maintenance in Reno isn’t a frequency question. It’s a watch-for question. Check filters monthly during smoke season and adjust from there. Look at duct joints after any HVAC or attic work, because that’s when the seals fail. Watch registers for airflow changes and odor triggers. Log dates, photos, and observations so a technician can compare today to last time. Schedule an inspection annually if your home has age, occupants, pets, or recent work going against it, or every two years if it’s newer, tight, and quiet. Get a baseline, document it, and you’ll catch problems while they’re still maintenance issues instead of remediation jobs.
If you’re ready to establish that baseline, or if the checklist has already turned up something, call Duct Cleaning Reno at (866) 361-7643 for a free estimate. We answer 24/7. Fast dispatch from 7am to 7pm, Sunday through Friday. One flat price per system agreed before work starts. Before-and-after photos of your own ducts on every visit. Licensed and insured; ask for details.
Written by the team at Duct Cleaning Reno.